
Okay, so “ultimate” may sound like I’m bragging here, but with all the other crayon lipstick tutorials out there I needed something to make the research and experimentation I put into this recipe stand out from the rest. Seriously, when I decided to start in on my preschool-art-tool-to-makeup adventure I figured it would be simple to find the right ingredients, throw ’em in, and marvel at the results of this standardized process.
I was wrong.
There are so many re-hashes of the original Crayon Lipstick idea that I didn’t even know where to start. I spent hours looking through all the possibilities, and in every tutorial there was a variation. The amounts, the types of oils, the types of butters, what was interchangeable and what wasn’t; it was all different.
So, after careful study and experimentation, I have finally settled on my very own variation of the crayon lipstick; with an added ingredient that I believe makes it even better!
Alright, here we go. The ultimate crayon lipstick tutorial! Here’s what you’re going to need.
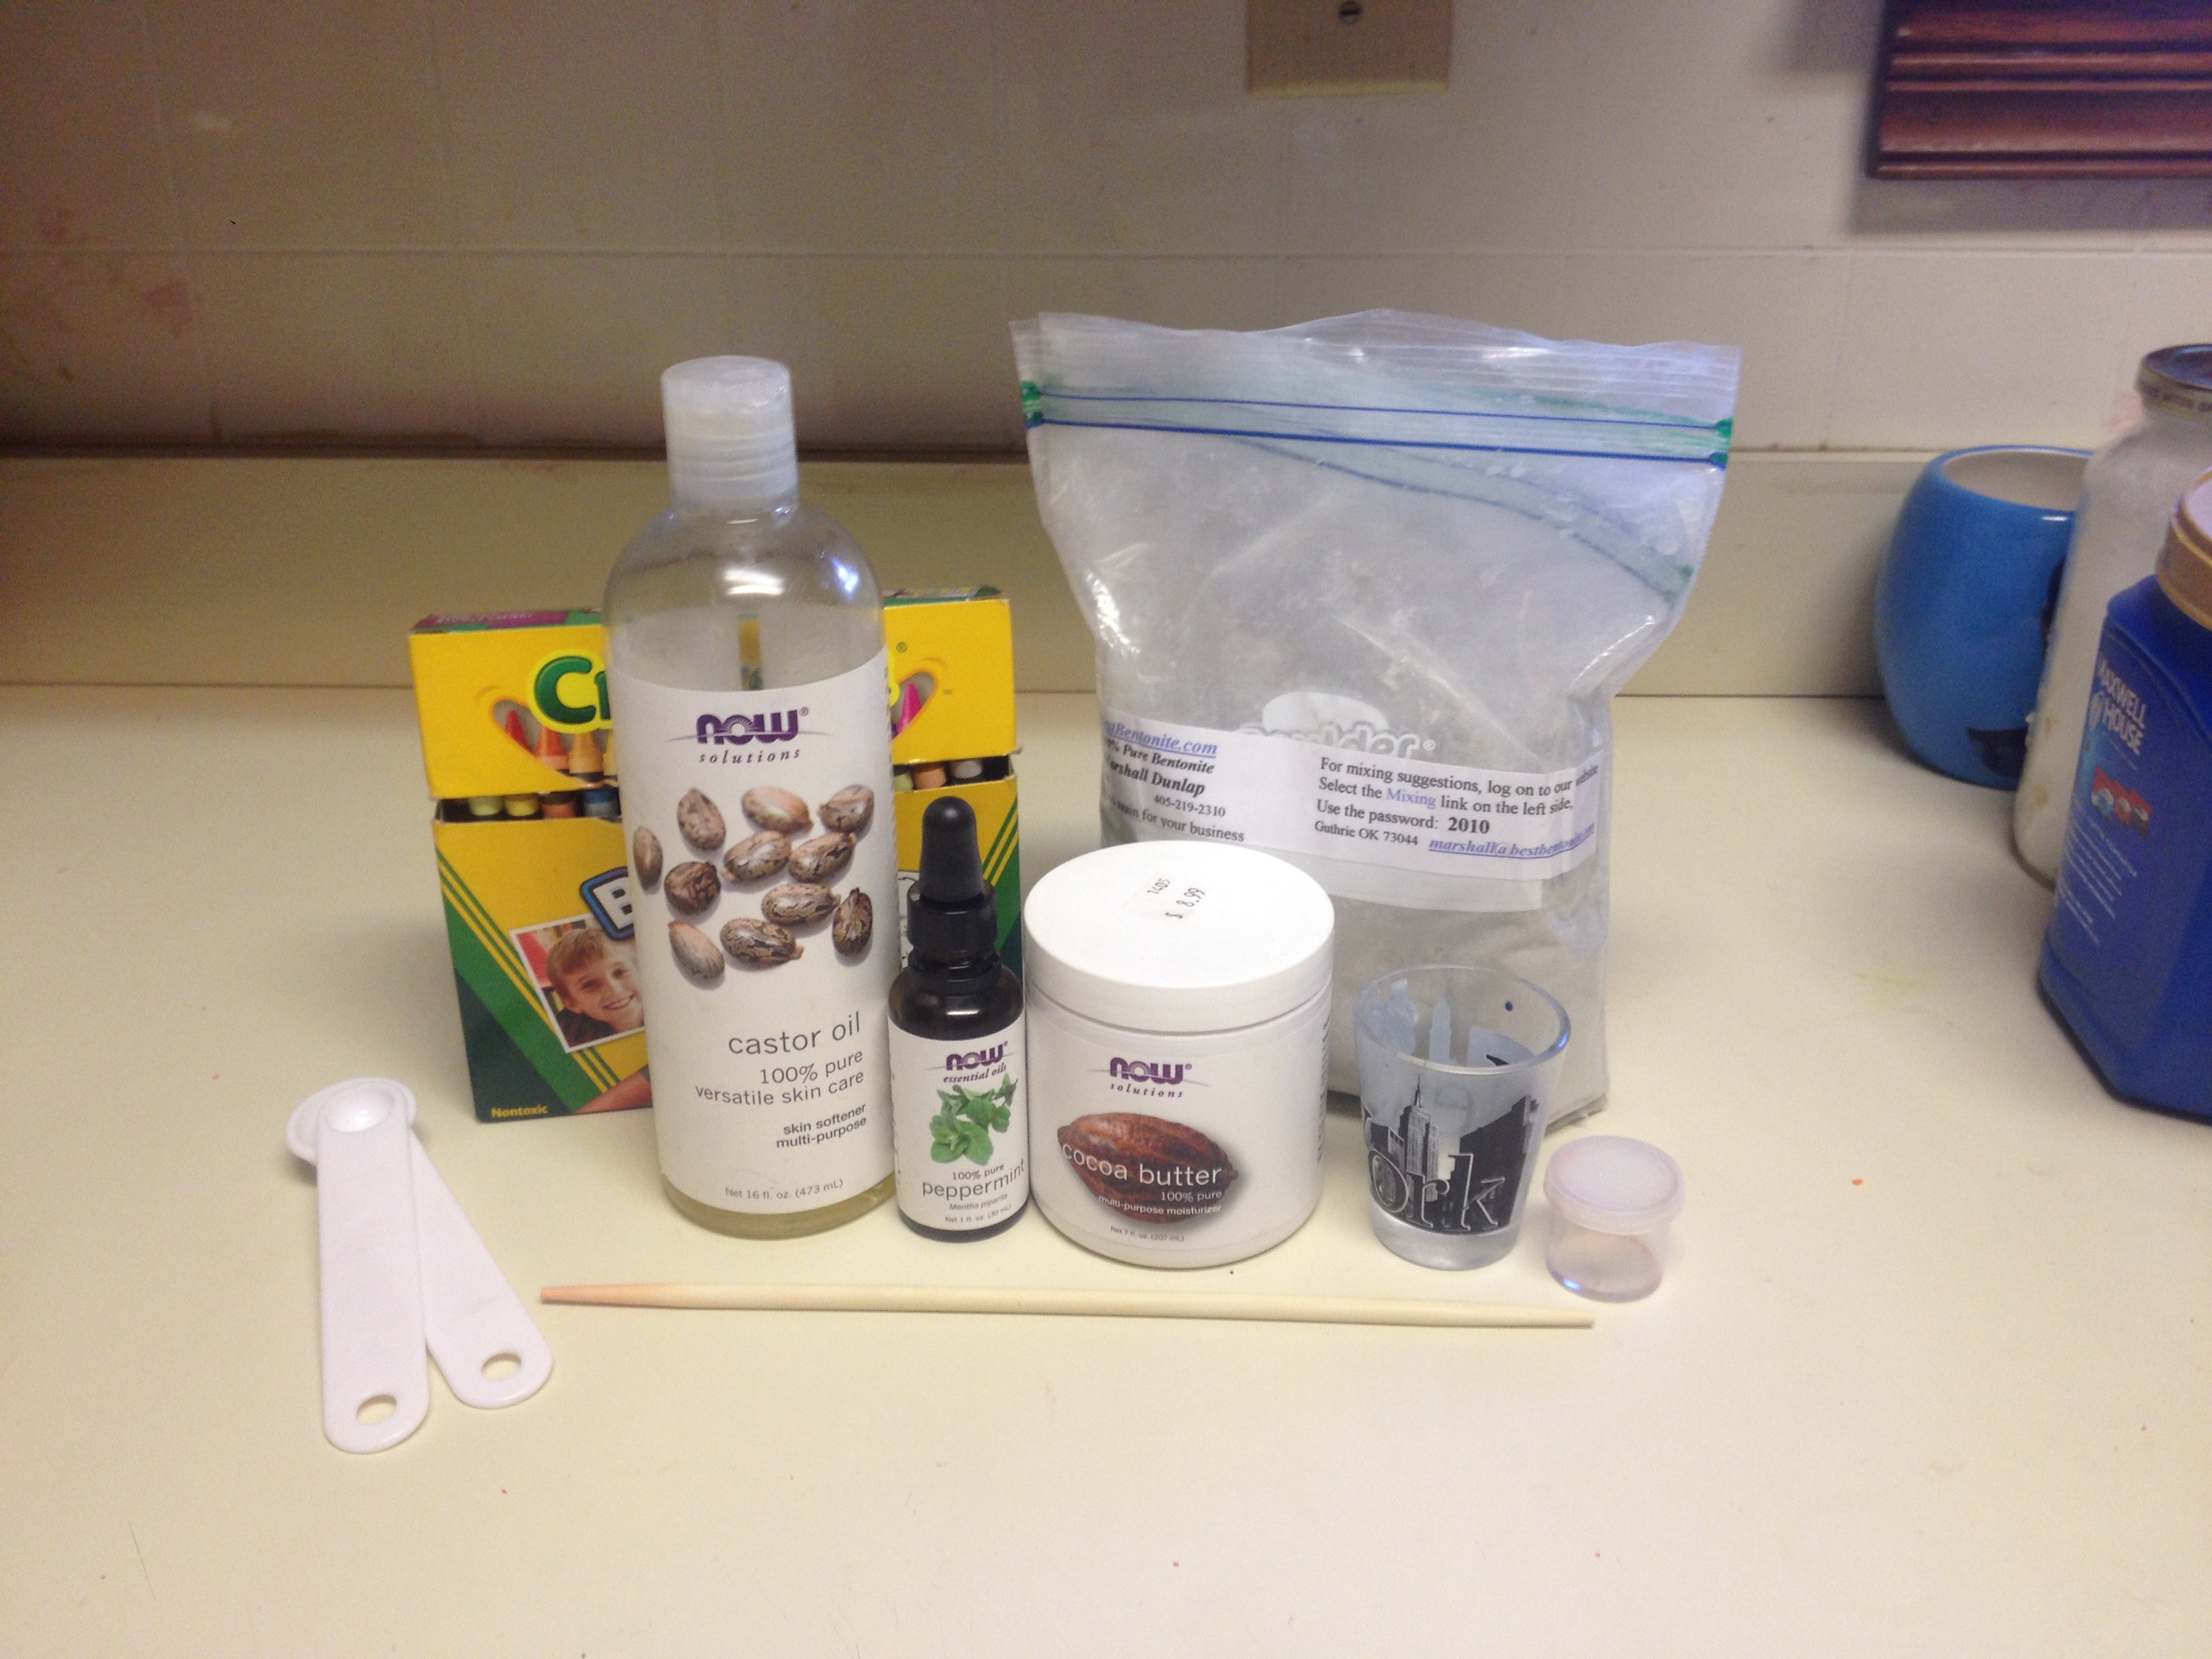
- Crayons
- 1 3/4 tsp castor oil
- 1/4 heaping tsp of cocoa butter
- 5-10 drops of peppermint essential oil
- 1/4 – 3/4 tsp of bentionite clay
- A container to pour the lipstick in when your’e done making it
- A shot glass (or a glass bowl, aluminum foil, ect)
- A chopstick (or something similar)
Now, let’s start with your crayon. I picked out a pretty fuchsia one for this tutorial, but any will do. And as we’ve all known since preschool; Crayola rules, Roseart drools. The higher pigmentation to wax ratio will provide a better color pay-off.

Take your crayon, unwrap it (which is actually kind of hard, but you can do it. I believe in you.) and break it up into about four pieces.
Now. Take a shot.

Just kidding. I mean, unless you want to take a shot. I’m not here to judge.
Okay, but for real, plunk your shot glass into a pot of water and place the crayon-bits inside as such.

Now crank that burner up to high and once the crayons start to get gooey looking, stir them with the chopstick until they’re melted. Now for the extra goodies!
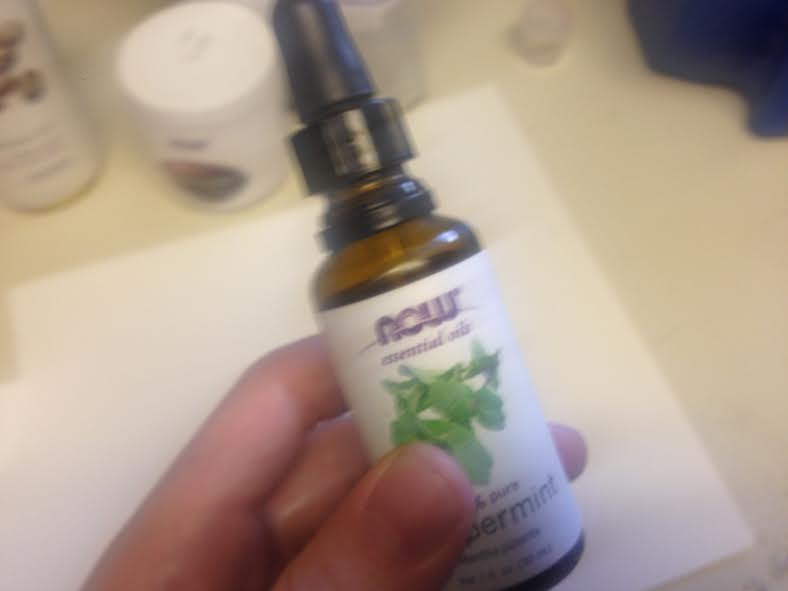
Depending on how minty you like your stuff, add 5-10 drops of peppermint to the melted crayon and stir it in. This will help make your lipstick minty-fresh! This step is technically optional. I mean, if you want to relive those childhood memories of stuffing crayons into your gaping pre-adolescent maw, then that’s all you.
Moving on.
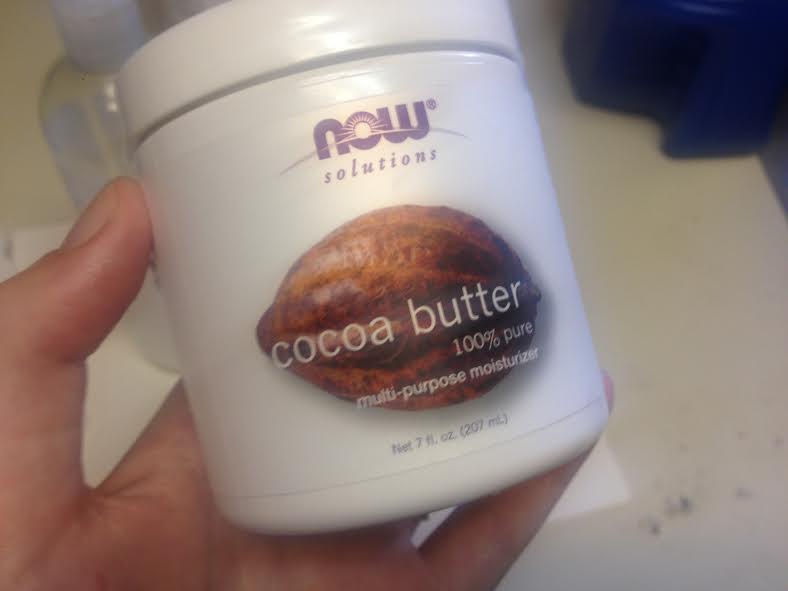
Most of the tutorials out there suggest using pure oil, and suggest that you can easily substitute with she butter or cocoa butter if that’s what you have on hand. I found that this is not the case. My experiments with using pure cocoa butter over oil were a miserable failure. The consistency was okay, but the color was all splotchy and didn’t apply evenly; or wore off the second your lips touched each other. So, after a few attempts, I discovered a combination of the two was best. I liked adding in some cocoa butter because it makes the lipstick more moisturizing.
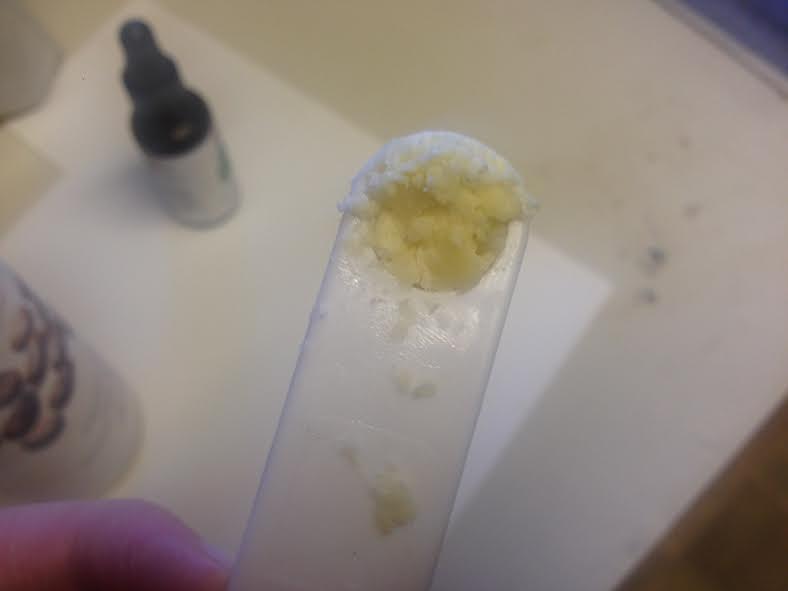
Add a heaping 1/4 tsp of cocoa butter to the melty-crayon-goo, and stir it in until well combined. Make sure you pack the cocoa butter into the measuring spoon and have a little going over. Because, makeup science. Yeah.

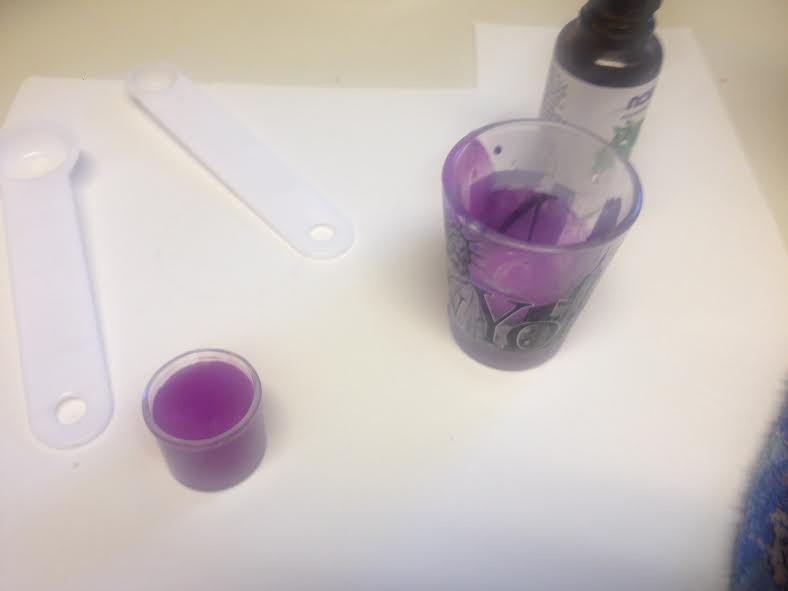
Okay, now we add 1 3/4 tsp of castor oil and mix it in. Sorry for the blurry pic. I had to hold the bottle with one hand, and use the iPhone camera with the other. Things got a little shaky on this one.
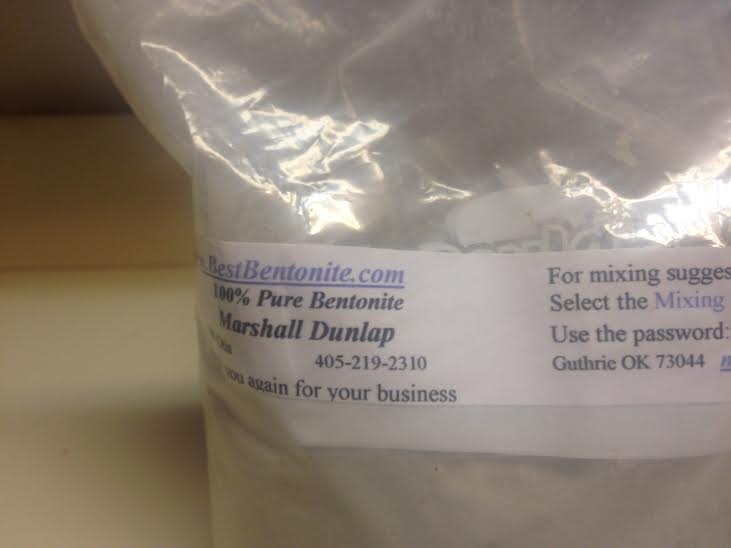
Here it is! The secret ingredient. Chemical X.
Wait. No. Sorry. I meant bentonite clay.
I think I saw maybe one other person mention bentonite clay, and they said something kind of vague like “add a pinch if you want a matte lipstick”. While she was onto something; a “pinch” don’t do it, folks. And, it’s more than just making your lipstick matte. Bentonite clay helps add a bit more coherency to the lipstick. I recommend putting in at least 1/4 tsp to help with consistency. I think 1/2 tsp is the ideal, but 3/4 tsp will provide a more matte finish. The one I’m making for you guys is 1/2 tsp, so you can see the finish at the end and decide if that’s what you want or not.
Anyway, mix in your desired amount of clay, and you’re done!
Now all you have to do is pour the now-lipstick into your container! Please be careful, as your shot glass may be too hot to handle. I used a superman washcloth to pick it up by the rim and then pour it.
Let it settle until it’s not completely liquid-ey, and pop it into the fridge for a like five minutes, and guess what! You have lipstick!

See, look how pretty! Its got decent wearability over time, great color payoff, and is rather moisturizing. I poured it into the small storage containers because I find that applying this lipstick with a finger or lip brush is the ideal.

Now, get out there and make your lipsticks! If you post up some pics using my tutorial in Instagram, tag me as @princessamazon so that I can see!
Good luck!

These are great! Thanks for the tutorial 🙂
LikeLike
No problem! Glad I could help.
LikeLike
Bentonite clay also provides ‘slip’ which makes it feel better. I love bentonite clay in my shaving soap! I’m glad I found your tutorial because I was going to try playing around with the clay myself.
LikeLike
I tried some with bentonite and some without, and it just make the overall texture so much better. I get what you mean by the ‘slip’. Without it the waxiness is a little too much.
I’m glad I could help you out! Have fun making your own batch!
LikeLike